Antique Wood Furniture Restoration Techniques: Bringing Heritage Back to Life
Reading Wear Patterns Like a Diary
Scuffs at drawer fronts, polished armrests, and sun-faded panels reveal how a piece lived. Document these clues with photos and notes, then plan interventions that stabilize structure and preserve meaningful marks rather than erase them entirely.
Conservation Mindset Over Replacement
Resist the impulse to make everything look new. Prioritize reversible methods and original materials whenever possible, especially on high-value pieces. Ask yourself: will today’s repair be understandable, undoable, and historically respectful in twenty years?
Anecdote: The Walnut Sideboard’s Whisper
A 1900s walnut sideboard arrived listing left. Underneath, a slipped tenon and brittle glue told the tale. Gentle steam, hide glue, and patience restored strength without sanding away that honest century of kitchen laughter.
Walnut’s chocolate heartwood and subtle aroma differ from the sweet, spicy scent of cedar or the ribbon figure of mahogany. Use end-grain patterns, pore structure, and weight to guide species-specific cleaning and finishing decisions.
Antique panels expand across the grain. Rigid modern fixes cause splits. Respect floating panels, use elongated screw holes, and avoid cross-grain gluing so the piece can breathe with humidity without cracking or telegraphing stress.
Dirt dulls; patina deepens. Test clean tiny areas with mild solutions, then stop as soon as color wakes up and chatoyance returns. Preserve oxidation halos around hardware—they are the fingerprints of years, not blemishes.
Traditional Joinery: Repair with Reversible Methods
Hide Glue: Old School for Good Reason
Hot or liquid hide glue bonds wood to wood, creeps for tight fits, and releases with heat and moisture. Its compatibility with original joints makes it the gold standard for antiques, unlike many modern synthetics.
Clamping Without Bruising
Use cauls with cork or leather pads, apply even pressure, and avoid over-tightening that starves joints. Dry-fit first. For curved components, custom-shaped cauls or soft straps distribute force and protect fragile moldings beautifully.
Respecting Mortise-and-Tenon Integrity
Loose tenons often need cleanup and a whisper-thin shim from matching grain. Avoid screws through shoulders. If reinforcement is necessary, consider a concealed spline or drawbore pin that echoes period craftsmanship rather than contradicting it.
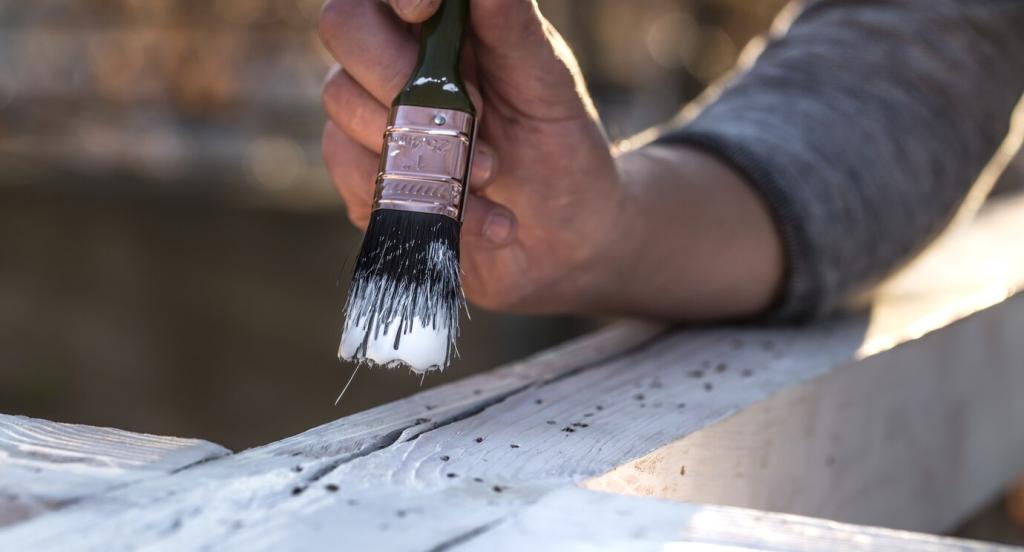
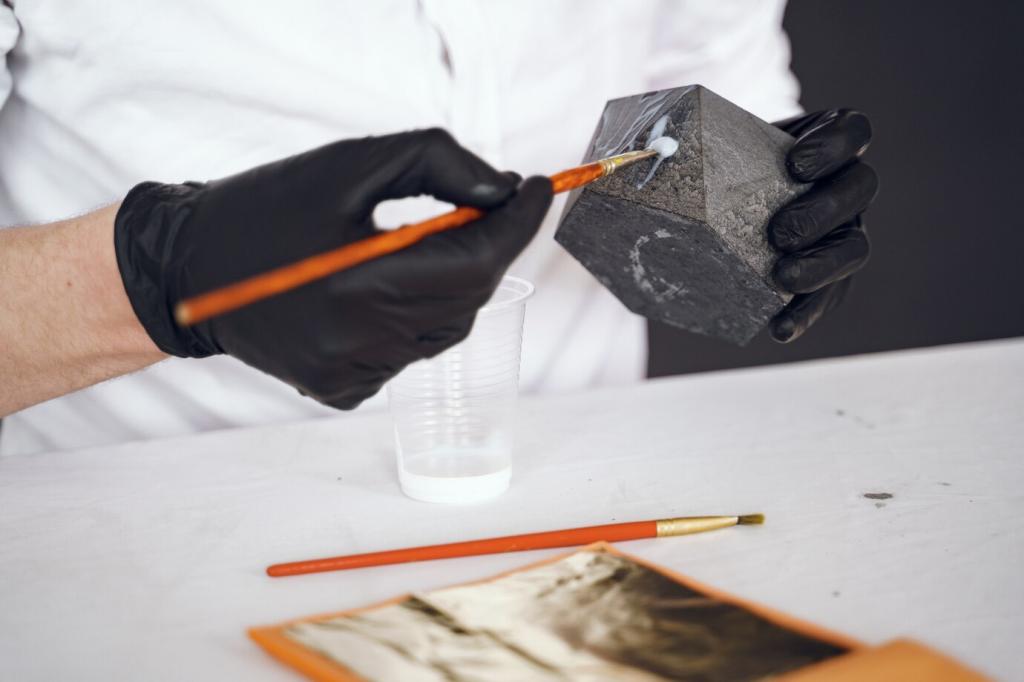
Surface Care: Clean, Don’t Erase History
01
Start with distilled water and a drop of mild soap, worked cautiously with soft cloths and swabs. Roll, don’t scrub. Change swabs often, watch for color lift, and stop immediately if you see finish dissolving.
02
If finish failure is widespread, choose a gentler solvent-based stripper and mask sound areas. Neutralize thoroughly. Preserve pore coloration and avoid sanding through edges where veneer thins and history tends to disappear forever.
03
After removing iron sources, a carefully mixed oxalic solution can reduce dark rings. Protect surrounding finish, rinse repeatedly, and re-balance color with dye or toner afterward. Invite readers: have a stubborn stain? Describe it below.
Re-Adhering Lifted Veneer
Inject warm hide glue under blisters, use gentle heat and a veneer hammer or padded cauls, then clamp with breathability in mind. Clean squeeze-out while fluid. Patience prevents telegraphed ridges and keeps the surface remarkably flat.
Patching Losses Invisibly
Match species, grain direction, and figure. Taper patch edges, not square. Pre-tone the patch slightly light, then glaze to match. A fine scribe and feathered shellac make seams disappear to all but the closest eye.
French Polish: The Satin Glow of Time
A shellac-based French polish builds depth with many thin applications and a touch of oil on the rubber. It respects antique character, reviving chatoyance without entombing wood in thick, modern plastic coatings.
Color Matching and Finishing with Grace
Use water or alcohol dyes for undertone, gel stains for control, and spray or pad-applied toners to finesse overall harmony. Always record your formulas and share your favorite recipes with fellow readers in the comments.
Soak in mild solution, brush softly, and leave a whisper of tarnish to match wood’s age. Seal with microcrystalline wax. If hardware is missing, source period-correct patterns rather than installing modern lookalikes.